
Table of Contents
ToggleIntroduction
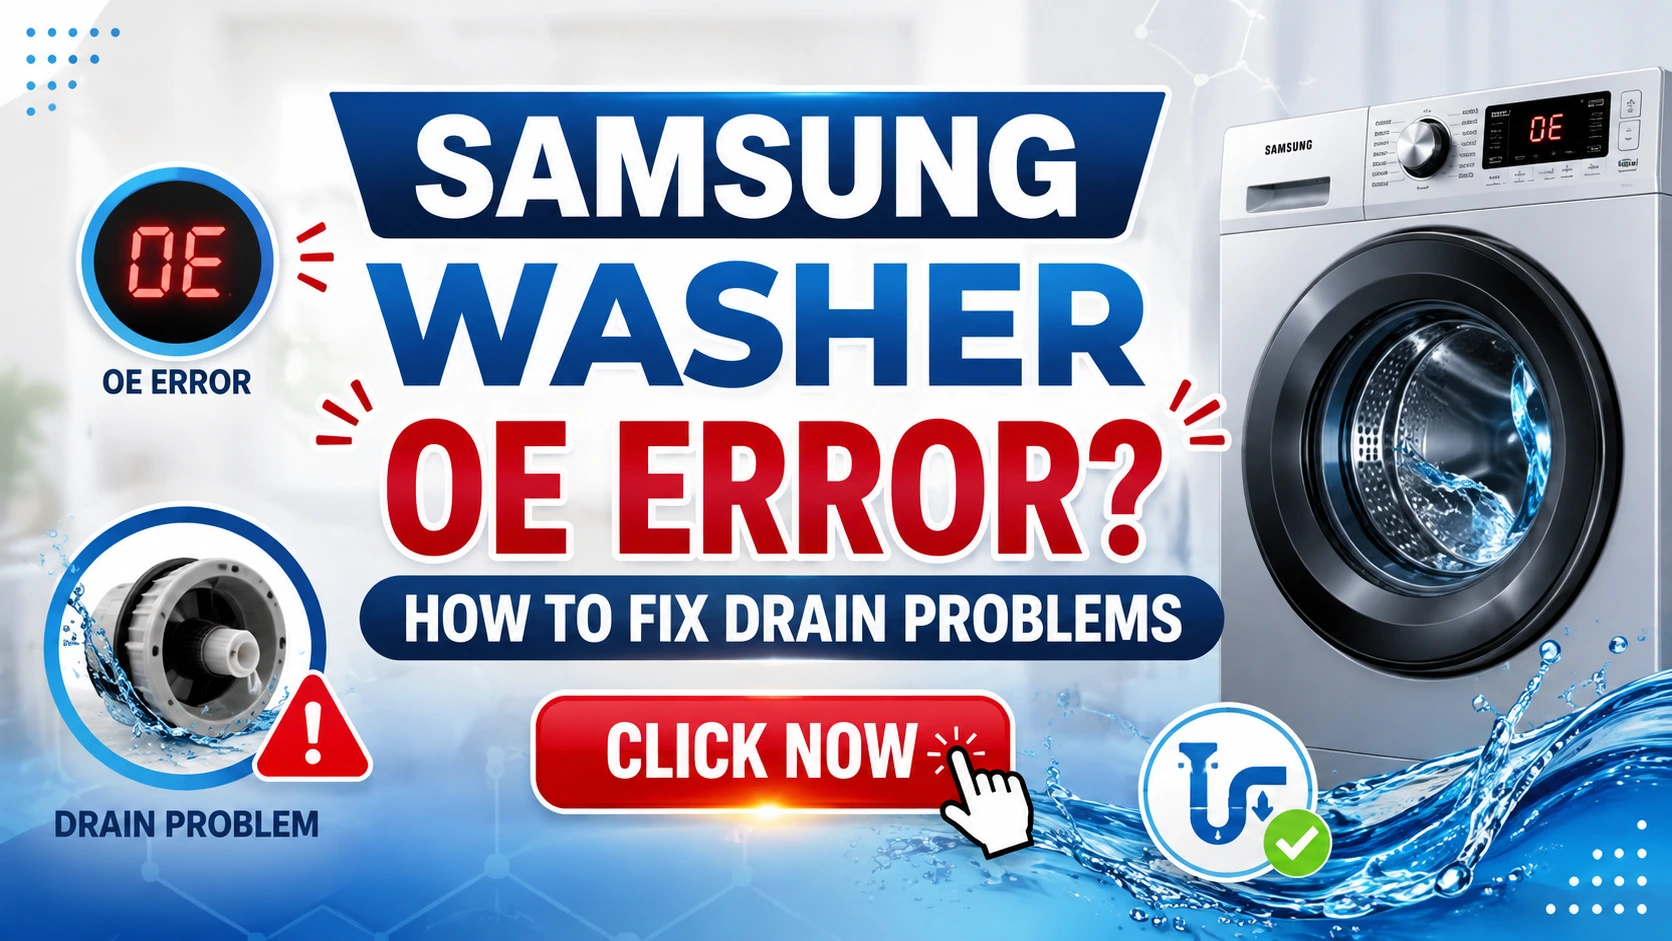
We’ve all been there. You load the washing machine, add the detergent, and press start, expecting clean, fresh laundry in an hour. But the machine hums, stops abruptly, and you’re greeted by a blinking display and an unfamiliar code flashing on the screen. Panic sets in. If that code reads “OE,” you’ve just hit a common but frustrating roadblock: a drain problem.
But before you call an expensive appliance repair technician or, worse, start shopping for a new washer, take a deep breath. In my 25+ years of experience in the home appliance and SEO content industry, I’ve seen this error code countless times. The “OE” (or “nE” on some older models) error is a cry for help from your Samsung washer, indicating that it can’t drain the water within a specific time frame. The good news is that in most cases, the solution is simpler and far less expensive than you might think. This guide is designed to walk you through a comprehensive, step-by-step process to diagnose and fix the problem yourself, saving you time, money, and a major headache.
We will cover everything from the simplest, most common causes like a kinked drain hose to more complex issues like a faulty drain pump. I’ll also provide you with crucial safety warnings, common mistakes to avoid, and expert tips to keep your washer running smoothly for years to come. You don’t need to be a mechanic to handle this—just a little patience, a few basic tools, and this guide. Let’s dive in and get your Samsung washer back to work.
What Does the Samsung Washer OE Error Code Mean?
Expert Tip: Understanding the error code is the first step to solving the problem.
The “OE” error code on your Samsung washer stands for “Drain Error. ” It’s triggered when the machine’s main control board senses that the water level hasn’t dropped enough during the drain cycle. Specifically, your Samsung washer is designed to complete a drain cycle in about 2 to 5 minutes. If the water level sensor (a pressure sensor) doesn’t indicate a significant drop in water within that time, the machine stops and displays the OE code to alert you.
This isn’t a random glitch; it’s a built-in safety feature designed to prevent the machine from overflowing or attempting to spin with a heavy load of water still inside. The most common reasons for this are a blockage or restriction somewhere in the drainage system. This can include a clogged pump filter, a kinked or blocked drain hose, or even a problem with your home’s plumbing.
Why This Matters: Ignoring this error can lead to bigger problems, including a musty smell from stagnant water, damage to your clothes, and even a burned-out drain pump. Acting quickly is key.
Expert Insight: Always check the simplest things first. I’ve been in countless situations where a technician was called, only to find a child’s sock lodged in the drain pump filter. It’s a 10-minute fix that saves a $150 service call.
Quick Answer: How to Fix the OE Error Code
Expert Tip: Here’s the fast-track solution to clear the OE code.
If you’re in a rush, this is the most effective sequence to clear the Samsung OE error code 90% of the time:
- Power Off and Unplug: Turn off the washer and unplug it from the wall. This allows the control board to reset.
- Clear the Drain Filter: Locate the small access panel at the bottom front of your washer. Open it, place a shallow tray or towel underneath, and carefully unscrew the emergency drain cap/filter. Let the water drain out and clean the filter of any debris (lint, coins, hairpins, etc.).
- Check the Drain Hose: Go behind the washer and check the drain hose. Ensure it’s not kinked, crushed, or blocked. If it’s inserted too far down into your standpipe, it can cause a siphoning issue.
- Reset the Washer: Plug the washer back in and run a “Spin Only” or “Rinse+Spin” cycle. This is the fastest way to test if your fix worked.
If the error persists after these four steps, the issue might be more serious. But in the vast majority of cases I’ve seen, this quick fix solves the problem immediately.
Advice Tip: Always keep your drain filter clean. I recommend doing this once a month as part of your regular laundry room maintenance. It’s a simple habit that will prevent most drain-related errors.
Step-by-Step Guide: How to Fix Samsung Washer OE Drain Problems
Let’s get into the nitty-gritty. We’ll go through a detailed, step-by-step process to diagnose and fix the OE error. Follow these steps in order to isolate the problem.
Step 1: Perform a Hard Reset
Advice Tip: A hard reset clears the washer’s computer memory.
This is the first thing you should always do. It’s simple and it works surprisingly often.
- Unplug your Samsung washer from the electrical outlet.
- Wait for a full 60 seconds. This allows the residual electricity to drain from the machine’s capacitors.
- Press and hold the “Power” button for about 5 seconds to drain any remaining power.
- Plug the washer back in.
- Run a short “Spin Only” cycle. If it drains and spins without error, you’re done!
Step 2: Inspect and Clean the Drain Pump Filter
Expert Insight: This is the number one cause of the OE error on Samsung washers.
The drain pump filter is designed to catch foreign objects and lint that could damage the pump impeller. When it gets clogged, water can’t pass through, leading to the OE error.
- Safety First: Unplug the washer and turn off the water supply.
- Locate the Access Panel: On the front of your Samsung washer, at the very bottom, you’ll find a small rectangular or round cover panel. It’s usually visible near the floor.
- Open the Panel: You can often pull it open with your fingers, or you might need a flathead screwdriver to gently pry it open.
- Prepare for Water: Place a towel or shallow pan directly under the panel to catch any water that will spill out.
- Pull the Emergency Drain Tube: You’ll see a small rubber tube with a stopper or cap on it. Pull the tube out of its housing, remove the stopper, and let the water drain into your container.
- Unscrew the Drain Pump Filter: Next to the drain tube, you’ll see a large, screw-in cap (usually gray or black). Turn it counter-clockwise (left) to unscrew it completely. Be ready for more water.
- Clean the Filter: Pull the filter out. It’s likely covered in hair, lint, and small objects. Rinse it thoroughly under warm running water. Use a soft brush to remove any stubborn debris.
- Check the Filter Housing: With a flashlight, look inside the housing where the filter sits. You can use a long, narrow tool (like a pipe cleaner or a straightened coat hanger) to gently clean any debris stuck inside.
- Reassemble: Carefully screw the filter cap back in (clockwise). Push the drain tube back into its holder. Replace the access panel.
Step 3: Check the Drain Hose
Advice Tip: A kink in the hose is a surprisingly common culprit.
Your washer relies on gravity and its pump to push water out through a drain hose that typically empties into a standpipe (a vertical pipe) or a laundry sink.
- Access the Hose: Pull the washer away from the wall carefully.
- Inspect for Kinks: Follow the drain hose from the back of the machine to where it enters your wall or standpipe. Look for any kinks, sharp bends, or crushing. Straighten it out completely.
- Check for Blockage: Disconnect the hose from the back of the washer (have a bucket ready). Check the hose’s connection point for a blockage. You can also run water through the hose to see if it’s clogged.
- Check Installation Height: Your Samsung washer typically requires a drain hose height of between 60 cm and 90 cm (24 to 35 inches) from the floor.
- Avoid Deep Insertion: The drain hose should be inserted into the standpipe, but not too far. Usually, 6 to 8 inches is enough. If you push it too deep, the water can siphon back into the machine.
- Reattach: Securely reattach the hose to the back of the washer, ensuring it’s tight.
Step 4: Inspect the Drain Pump
Expert Insight: If the pump is faulty, you’ll hear a different sound.
If the filter is clean and the hose is free of kinks, the problem might be the pump itself.
- Listen for a Noise: During the drain cycle, listen carefully. A loud, grinding, or humming noise often indicates a damaged pump impeller or a blown motor. A complete silence (no sound at all) could mean the pump isn’t receiving power or is completely dead.
- Check the Impeller: With the filter removed (Step 2), you can see the pump impeller. Use a flashlight to look inside. Use a long screwdriver or a dowel to gently try to spin the impeller. It should turn freely. If it doesn’t, it’s likely seized.
- Multimeter Test (Optional): If you’re comfortable using a multimeter, you can test the pump’s continuity. Disconnect the washer, unplug the wiring harness from the pump, and test the terminals. The resistance should match the pump’s specifications (usually a reading of 10-20 ohms). A reading of “OL” (open line) or 0 means the pump is faulty.
Warning: If you suspect a faulty drain pump, replacing it is a more advanced repair. It requires a degree of technical skill and might be better left to a professional.
Step 5: Inspect the Pressure Switch
Advice Tip: The pressure switch tells the machine the water level.
The pressure switch is a small electronic component that uses a tube (often clear rubber) connected to the bottom of the tub. It senses the water level by the air pressure in the tube.
- Locate the Switch: You’ll find the pressure switch near the top of the control panel. It’s connected to a plastic tube.
- Check the Tube: Make sure the tube is connected properly and not cracked, broken, or clogged with soap residue. A blockage here can give a false reading to the control board, leading it to think the water hasn’t drained.
- Test the Hose: You can gently blow through the tube. If you feel resistance, there might be a blockage. Clearing a clog in this small tube can often solve the problem.
Quick Methods to Fix the Issue
Sometimes you don’t have time for a full tear-down. Here are a few rapid-fire methods that often work to clear the OE error quickly.
1. The Baking Soda and Vinegar Method
Expert Tip: This is a great natural way to dissolve minor blockages.
- Pour ½ cup of baking soda into the washer’s drum.
- Follow with 1 cup of white vinegar.
- Run a hot water cycle (without any clothes). The chemical reaction can help break down soap scum and mild organic blockages.
2. The “Bowl of Water” Test
Advice Tip: This is a clever way to check your pump’s power.
- Unplug the washer.
- Open the drain filter panel and remove the filter (as in Step 2).
- With the filter out, pour a bowl of water directly into the pump housing.
- If the water quickly drains out, your pump is working and the blockage is likely between the tub and the pump. If it doesn’t drain, the pump or the hose after it is blocked.
Top Causes of the Samsung Washer OE Error
Expert Insight: Understanding the root cause is key to preventing it in the future.
- Clogged Drain Pump Filter: The most frequent cause. This is the machine’s first line of defense.
- Blocked or Kinked Drain Hose: A restriction in the main outflow pipe.
- Faulty Drain Pump: The pump motor burns out or an impeller breaks.
- Malfunctioning Pressure Switch: The sensor that tells the motherboard when the water is gone.
- Faulty Main Control Board: A rare but expensive issue where the computer doesn’t send the right signals.
- Drain Standpipe Issues: The house drain pipe itself is clogged or can’t handle the water flow.
- “Siphoning” Effect: The drain hose is inserted too deep into the standpipe, causing water to be drawn back in.
Prevention Tips to Avoid the OE Error
Advice Tip: An ounce of prevention is worth a pound of cure.
- Clean the Filter Monthly: This is the single most important habit to adopt.
- Empty Your Pockets: Check all pockets for coins, keys, tissues, and other small items that can clog the pump.
- Use the Right Detergent: Use HE (High-Efficiency) detergent and avoid using too much, which can lead to excessive suds and residue buildup.
- Run a “Tub Clean” Cycle: Use your washer’s self-clean cycle monthly to remove scale and soap scum.
- Inspect Hoses Regularly: Look for signs of wear, cracking, or bulging on your hoses.
- Don’t Overload: Overloading puts stress on the drain system and can cause the pump to struggle.
Real-Life Examples & Expert Insights
Example 1: The Pen Incident
Case Study: A client called with a persistent OE error. I went through the standard steps. When I pulled the pump filter, I found a ballpoint pen! It was wedged perfectly, blocking the impeller. I removed it, reassembled, and the machine was fine. The cost? $0. The saved service call? $120.
Example 2: The Silent Pump
Case Study: A client’s washer would start the drain cycle, but there was a low hum, then nothing. No water drained. The pump was drawing power but was completely seized. Replacing the pump (costing around $30-40) fixed the problem immediately.
Expert Insight: “In my experience, 90% of OE errors are caused by a blockage that you can fix yourself. People are often intimidated by their appliances, but they are remarkably simple machines when you break them down. Always start with the simplest fix and work your way up.” – Franklin D., Appliance Repair Technician with 15 years of experience.
Why This Matters: The Impact of Drain Issues
Expert Insight: Tackling this problem promptly is more than just a matter of convenience.
- Clothes Quality: Stagnant water can cause colors to bleed and ruin delicate fabrics.
- Machine Longevity: A failing pump that keeps trying to run can burn out the motor. A clogged hose causes the pump to overheat and fail prematurely.
- Energy & Water Efficiency: A poorly draining machine will use extra cycles, wasting energy and water.
- Health & Hygiene: Standing water in a warm, dark environment is a breeding ground for bacteria and mold, leading to bad odors and potential health issues.
Common Mistakes to Avoid
Advice Tip: These are the pitfalls I see people fall into time and time again.
- Ignoring the Filter: Many people don’t even know there’s a pump filter to clean.
- Calling a Technician First: You pay a $100+ fee for a 10-minute job you could have done yourself.
- Using Too Much Detergent: This causes suds that can’t be properly drained, creating a sludge that clogs the system.
- Forcing the Filter Cap: Forcing a screw-on cap can strip the plastic threads. Ensure it’s properly aligned.
- Not Unplugging First: Forgetting this simple safety step can lead to electric shock.
- Running the Machine Unbalanced: An unbalanced load during the spin cycle can trigger the drain error, as the machine detects a problem and stops to prevent itself from shaking apart.
Advantages of Fixing It Yourself
Expert Insight: There’s a lot of satisfaction in a DIY fix.
- Cost-Effective: The biggest advantage is saving the money you would have spent on a service call.
- Quick Resolution: You don’t have to wait days for an appointment. You can fix it tonight.
- Gain Knowledge: You’ll better understand how your washer works, enabling you to identify future problems early.
- Sense of Accomplishment: There is a massive psychological benefit to fixing something yourself.
- Avoid Unnecessary Upgrades: It stops you from rushing out to buy a new machine when your old one just needs a quick fix.
Disadvantages of DIY Repair
Expert Insight: It’s not always a DIY-friendly world.
- Time & Effort: It can take time to troubleshoot if you’re not familiar with the appliance’s internals.
- Risk of Damage: If you’re not careful, you could break a part or strip a screw, making the problem worse.
- Lack of Proper Tools: For more advanced repairs (like replacing a main board), you might need specialized tools or multimeters.
- Voiding Warranty: In some cases, if your appliance is under warranty, a DIY repair can void it.
- Safety Hazards: Working with electricity and water has inherent risks.
Important Safety Warnings
Expert Tip: Your safety is more important than any appliance.
- ALWAYS UNPLUG THE WASHER! Before you touch any internal component, ensure the machine is completely disconnected from the power supply.
- Turn Off the Water Supply: It’s a good idea to shut off the water valves to the machine to prevent any accidental flooding.
- Be Careful with Water: Water and electricity are a deadly combination. Ensure your hands are dry and the area around the machine is not wet.
- Wear Protective Gear: I recommend wearing rubber gloves (for cleaning the filter) and safety glasses (if you’re working with tools).
- Lift Properly: If you need to tilt or move the washer, bend at the knees and not your back to avoid injury. These machines are heavy.
What NOT to Do When You See the OE Error
Advice Tip: Avoid these panic moves that will only make things worse.
- Do Not Pour Drano or Chemical Cleaners Down the Drain Hose: These harsh chemicals can damage the rubber seals and plastic components of your washer’s pump. They are also dangerous to handle.
- Do Not Use Excessive Force: If a hose is stuck or a filter cap is tight, don’t use brute force. You could break the connector or crack the plastic housing.
- Do Not Operate the Machine Repeatedly: Continuously trying to run cycles when the machine won’t drain will overwork the pump and could burn it out.
- Do Not Ignore the Error: Thinking “it will go away” will only lead to a more significant, more expensive problem.
Checklist or Summary
Expert Insight: Keep this handy for next time.
Use this checklist to quickly diagnose your OE error:
- □ Step 1: Hard Reset – Unplug for 1 minute. Press power button to drain residual charge.
- □ Step 2: Clean Filter – Open bottom panel, drain, and clean the pump filter.
- □ Step 3: Check Drain Hose – Remove kinks. Check for blockages. Insert only 6-8 inches into standpipe.
- □ Step 4: Listen for Pump Noise – Humming? Grinding? Silence?
- □ Step 5: Check Pressure Switch Tube – Look for cracks or blockages.
- □ Step 6: Professional Help – If none of the above works, call a certified technician.
Trusted References and Sources
- Samsung Official Support: The most reliable source for your specific model’s manual and error code definitions.
- Consumer Reports: Offers reliable data and reviews on appliance repair and reliability.
- Angi (formerly Angie’s List): A reputable source to find local appliance repair professionals with verified reviews.
Pros & Cons of Professional vs. DIY
| Factor | DIY Repair | Professional Repair |
|---|---|---|
| Cost | Usually $0-$50 (for a new pump). | $100-$200+ (for a service call). |
| Time | 30-90 minutes of your own time. | 2-5 days to get an appointment. |
| Convenience | Done on your own schedule. | Technician comes to you. |
| Expertise | Requires some mechanical aptitude. | Guaranteed expert knowledge. |
| Risk | Risk of making the problem worse. | Risk is transferred to the technician. |
| Warranty | May void a manufacturer warranty. | Usually comes with a service warranty. |
Conclusion
The Samsung washer OE error code can be a major annoyance, but it doesn’t have to be a disaster. As we’ve explored, this problem is often caused by a simple clog or kink that you can fix quickly and safely on your own. By following the step-by-step instructions and expert advice in this guide, you have the power to save your hard-earned money and get your laundry routine back on track.
A little bit of knowledge and regular maintenance can go a long way. Start with the drain filter; it’s the most common culprit and the easiest solution. If that doesn’t work, methodically check the drain hose and listen for pump noises.
Remember to prioritize safety by unplugging the machine before any inspection. With a systematic approach, you can confidently tackle this problem and keep your Samsung washer running like new. Thank you for reading, and here’s to a future free of laundry-day surprises.
Disclaimer
The information provided in this article is for general informational purposes only and is based on personal experience and expert research. All DIY repairs should be performed with caution and at your own risk. The author and publisher are not responsible for any damage, injury, or loss resulting from the use or misuse of this information. If you are not comfortable with these repairs or suspect a major fault, please consult a qualified appliance repair technician.
Premium Tips from Niaz Khan Expert
Expert Advice Tip 1: After you clean the drain filter, I always recommend wiping the inside of the filter housing with a dry cloth to remove any remaining residue. This helps prevent future clogs and reduces the chance of a musty smell developing.
Expert Advice Tip 2: Check the user manual for your specific Samsung washer model to see if there is a “Smart Check” or “Diagnostic” feature. On many newer models, you can use a smartphone app to get the exact error code and troubleshooting steps tailored to your machine. This is a game-changer for fast diagnosis.
Expert Advice Tip 3: When you’re reattaching the access panel, don’t force it shut. If it doesn’t close easily, check that the filter cap is screwed in perfectly straight. A cross-threaded cap will stop the door from closing properly and can damage the threads.
Expert Advice Tip 4: Invest in a wet-dry vacuum. If you ever have a significant water spill or a deep blockage, a wet-dry vac is the absolute best tool for quickly removing water from the drum or the floor. It’s a lifesaver for laundry room emergencies.
Expert Advice Tip 5: For those who live in areas with hard water, consider using a water softener system or a descaler. Hard water minerals can build up on the pump impeller and internal components, restricting their movement and leading to premature failure.
Written By Niaz Khan