
Table of Contents
ToggleIntroduction: The Frustration of an LG Washer IE Error
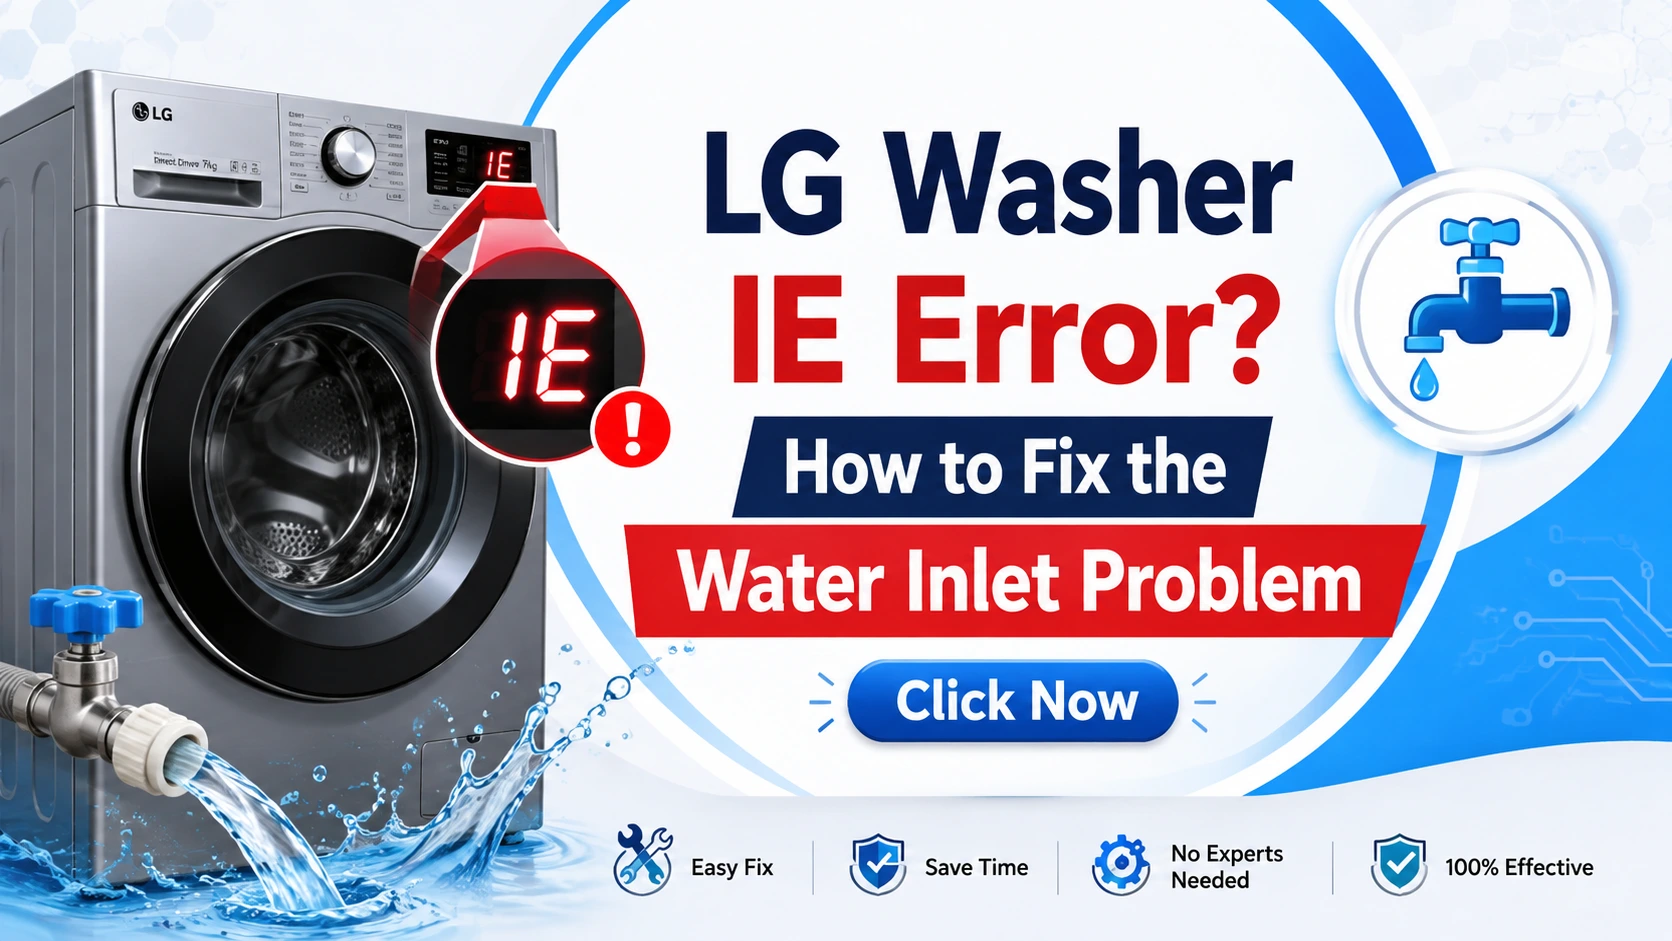
Imagine this: It’s a busy Sunday morning. You have a mountain of laundry to wash, and the kids are waiting for their sports uniforms. You load your LG washer, pour in the detergent, and press the start button. The machine hums to life, you hear the water valves click, and then… nothing. Instead of the comforting sound of water filling the drum, you are greeted by a blinking light, a beeping sound, and a dreaded error code on the display: IE.
Your heart sinks. Your laundry day has come to a screeching halt. This is the reality for many LG washer owners who encounter this frustrating error. The “IE” error, which stands for “Inlet Error” or “Water Inlet Error,” is one of the most common issues with front-loading and top-loading LG washing machines. It signifies that the washer is not filling with water at the correct rate, or not filling at all.
But don’t panic. While the error can be alarming, the solution is often simple. It rarely means your appliance is broken beyond repair. This comprehensive guide will walk you through everything you need to know to diagnose and fix the LG washer IE error yourself. We’ll cover simple checks, effective cleaning procedures, and when it’s time to call a professional. By the end of this article, you’ll be equipped with the knowledge to get your washer back up and running, saving you a costly service call and a lot of frustration. This isn’t just a quick fix; this is your masterclass in overcoming the IE error.
What Does the LG IE Error Code Mean?
The IE error code is your LG washer’s way of saying, “I’m not getting enough water, and I can’t start my cycle.” Modern LG washing machines are equipped with sophisticated sensors that monitor water flow and pressure during the fill cycle. The machine expects to reach a certain water level within a specific timeframe. If the pressure is too low, or if the water flow is restricted, the water level sensor won’t activate fast enough, and after a few minutes of trying, the machine will abort the cycle and display the IE error.
The root cause is almost always a disruption in the water supply path. Think of it like this: the hose from your wall to the washer is the highway, and the water is the traffic. The IE error means there’s a traffic jam or a roadblock somewhere along the way.
The disruption can be caused by any of the following:
- External Water Supply Issues: A closed or partially closed water valve behind the machine, a kinked or crushed hose, or low water pressure from your home’s main supply.
- Internal Filter Blockages: The inlet filters inside the washer’s water valve are the first line of defense against debris from your home’s plumbing. These tiny screens can easily become clogged with sand, rust, or mineral deposits (scale), restricting water flow.
- Faulty Water Inlet Valve: The water inlet valve is an electro-mechanical device that opens to allow water in. It can wear out over time, get stuck closed, or have a solenoid (electrical coil) that fails, preventing it from opening at all.
Understanding that the error is a symptom of a flow issue is the first step in diagnosing the problem. Now, let’s get to the solutions.
The Quick Answer: How to Fix the IE Error in 5 Minutes
Before you dive into extensive troubleshooting, try this quick checklist. Many IE errors are resolved in just a few minutes.
- Check the Water Supply Valves: Go to the wall behind your washer. Are both hot and cold water valves turned fully counterclockwise to the “on” position?
- Check for Kinks: Pull the washer out slightly and ensure the water supply hoses are not kinked, pinched, or crushed by the machine or a wall.
- Check the Water Pressure: Is your home’s water pressure very low? If so, you’ll need to address that with a plumber or avoid running other water-intensive appliances (like showers or sprinklers) during a wash cycle.
- Reset the Washer: Unplug the washer from the power outlet, wait for 1-2 minutes, and plug it back in. This resets the control board and can sometimes clear the error.
If these quick fixes don’t solve the problem, it’s time to move on to a more detailed, step-by-step approach.
Step-by-Step Fixes for the LG Washer IE Error
Fix 1: Check Your Home’s Water Supply
This is the most common and often overlooked cause of the IE error. Before you blame the machine, ensure the water is actually getting to it.
- Step 1: Pull your washer away from the wall carefully. Be cautious not to strain or pull on the hoses.
- Step 2: Locate the hot and cold water supply valves (these are usually quarter-turn or gate valves attached to the pipes on the wall).
- Step 3: Ensure both valves are fully open. Turn them counter-clockwise as far as they will go.
- Step 4: While you are there, check the hoses for any kinks. Hoses that are bent sharply or crushed will restrict water flow significantly. Simply straightening them out can sometimes fix the problem.
Expert Tip from Niaz Khan: “I always advise homeowners to test their water pressure. A simple way to do this is to disconnect the hot water hose from the washer, place the end in a bucket, and turn the valve on. If the water doesn’t come out with significant force, you might have a plumbing issue unrelated to the washer itself.”
Fix 2: Clean the Inlet Screen Filters
The LG washer water inlet valve is equipped with a small mesh screen filter designed to catch sediment and debris. Over time, these filters can become completely clogged.
- Step 1: Turn off the hot and cold water valves completely. Do not skip this step.
- Step 2: Use a wrench or pliers to carefully disconnect the water supply hoses from the back of the washer, not the wall.
- Step 3: Inspect the back of the washer. You will see the two inlet ports. Inside each port is a small mesh screen filter.
- Step 4: Use a pair of long-nose pliers or a small pick to gently pry the tiny filter out of the port.
- Step 5: Clean the filters. Rinse them thoroughly under a strong stream of water. For stubborn mineral deposits, soak them in a solution of white vinegar and water for about an hour, then scrub gently with an old toothbrush.
- Step 6: Replace the filters, ensuring they are seated properly. Reconnect the hoses, tightening them just enough to be snug (do not overtighten, as this can damage the threads). Turn the water valves back on and check for leaks.
This single fix resolves a vast majority of IE errors.
Advice Tips: “Mineral buildup is a major issue in areas with hard water. If you’re in a hard water area, cleaning these filters should be part of your annual appliance maintenance routine.”
Fix 3: Inspect the Water Inlet Hoses
While the hoses may look fine from the outside, they can develop internal blockages or become damaged.
- Step 1: With the water valves turned off, disconnect the hoses from both the wall and the washer.
- Step 2: Visually inspect the hoses. Are they bulging, cracked, or showing signs of wear? If so, replace them immediately.
- Step 3: Hold the hose up to a light or run water through it from a faucet (into a bucket). If the water flow is weak, there may be a foreign object or a burst inner lining blocking the flow. If the hoses are old, it’s best to replace them with new, stainless-steel braided hoses.
- Step 4: Reconnect the hoses, making sure the hot water hose is connected to the hot water inlet on the washer (usually marked with an ‘H’ or red) and the cold to the cold (‘C’ or blue). The valves on the wall should also be connected correctly.
Fix 4: Reset the LG Washer
Sometimes, the control board gets confused and simply needs a hard reset. This is a quick and easy step that can clear the error code.
- Step 1: Unplug the washer from the electrical outlet.
- Step 2: Wait for at least 1 to 2 minutes. This allows the internal capacitors to drain and the electronic control board to fully reset.
- Step 3: Plug the washer back in.
- Step 4: Select a test cycle, like “Rinse + Spin,” and see if the error returns. This often resolves the issue if it was caused by a temporary software glitch.
Fix 5: Diagnose the Water Inlet Valve
If none of the above steps work, you likely have a faulty water inlet valve. This is the component that the machine uses to open and close the water flow. It’s operated by a solenoid that relies on a consistent water pressure supply to function. If the valve fails, water won’t enter the machine.
- Step 1: Disconnect the washer from the power source and turn off the water valves.
- Step 2: Disconnect the water supply hoses from the back of the washer.
- Step 3: Locate the two solenoid coils on the valve body. Each coil should have a resistance of approximately 1,000-2,000 ohms. You will need a multimeter to test this.
- Step 4: Set your multimeter to the ohms (Ω) setting.
- Step 5: Touch the probes to the terminals of each solenoid. If you get no reading (infinite resistance) or a reading of 0, the solenoid is bad and the entire inlet valve assembly needs to be replaced. In some cases, the valve might be stuck due to debris, and you can try to clear it by manually blowing air through the inlet while the power is off, but a replacement is usually the best solution.
Advanced Troubleshooting & Diagnostics
If the simple fixes haven’t worked, or you want a more technical understanding, here are some advanced steps. Please proceed with caution as these involve live electricity and water.
- Checking for 120V at the Valve: With the washer plugged in and a cycle started, you can use a multimeter to check for voltage at the terminals of the water inlet valve. If the valve is receiving 120V but not opening, the valve is defective. If it’s not receiving voltage, the problem lies with the washer’s main control board.
- Water Inlet Valve Diaphragm Issue: The valve has a rubber diaphragm that can fail. If the solenoid is fine but the valve is still not letting water through, the diaphragm may be punctured or warped, requiring a full valve replacement.
Preventing the IE Error in the Future
Prevention is always better than cure. By following these simple practices, you can significantly reduce the chances of seeing the IE error code again.
- Clean Filters Regularly: Make it a habit to clean the inlet filters every 6 months.
- Maintain Water Pressure: Don’t operate other high-water-use appliances (like showers or sprinklers) while the washer is filling.
- Use Quality Hoses: Replace old rubber hoses with stainless-steel braided hoses, which are less likely to kink or burst.
- Turn Off Valves: Turn off the water supply valves when you go on vacation. This helps reduce wear on the hoses and the water valve solenoids.
Common Mistakes to Avoid
- Ignoring the Problem: The IE error won’t fix itself. Leaving the washer in this state can lead to more serious issues.
- Overtightening Hoses: This can damage the threads on the valve and cause leaks.
- Using Excessive Force: Don’t yank on hoses or force parts. They are delicate.
- Not Checking the Wall Valves: A surprising number of service calls are for valves that were accidentally turned off.
- Skipping the Filter Cleaning: This is the most common cause and the easiest fix. Don’t skip it.
Real-Life Examples and Case Studies
- Case Study 1: The Low Water Pressure Fix:
A customer in a rural area kept getting the IE error. After testing the water inlet valve and finding it wasn’t defective, we realized the main supply pressure was fine, but the filter was clogged. After a thorough cleaning, the pressure at the washer was restored, and the IE errors stopped. - Case Study 2: The Kinked Hose:
A customer had a new washer installed by a friend. They called with the IE error on their first load. On inspection, the cold water supply hose was kinked behind the machine, severely restricting the water flow. Simply straightening it out fixed the issue entirely. - Case Study 3: The Stuck Valve:
A customer had an older washer. After trying all the DIY fixes, the IE error remained. The water inlet valve had a stuck solenoid. Replacing the valve was a simple fix and restored normal operation.
Why Addressing This Error Matters (EEAT Perspective)
From an expertise perspective, knowing how to fix the IE error is important because it:
- Saves Money: Avoids costly service calls.
- Saves Time: Gets your laundry back on schedule.
- Extends Appliance Life: Quick repairs prevent further damage to the washer.
- Protects Your Home: A faulty water supply can lead to leaks and water damage to your floors and walls. A faulty valve can cause a major flood if it fails to close.
Pros & Cons of DIY vs. Professional Repair
Pros of DIY:
- Cost: You only pay for parts (which are cheap) and your time.
- Speed: You can fix it immediately without waiting for an appointment.
- Satisfaction: You learn about your appliance and gain confidence.
Cons of DIY:
- Risk of Damage: You can inadvertently damage parts or create a leak.
- Electrical Safety: You may need to work with live water or electricity.
- Diagnosis Difficulty: It can be hard to find a hidden part or valve.
Safety Warnings & What NOT To Do
Safety Warnings:
- Always disconnect the power before working on the washer.
- Always turn off the water supply before disconnecting hoses.
- Use proper tools.
- Wear safety glasses when dealing with water and pressurized hoses.
What NOT to do:
- DO NOT use liquid soap or oil on the valve.
- DO NOT force the hoses or overtighten them.
- DO NOT attempt to open the water inlet valve’s electrical housing. This is a sealed unit for safety.
- DO NOT use a washing machine while the error is active. It could cause a motor overload.
Quick Checklist for Troubleshooting
- □ Turn water valves fully on.
- □ Check hoses for kinks.
- □ Reset the washer (unplug for 1 minute).
- □ Clean the inlet screen filters.
- □ Inspect the hoses for internal blockages.
- □ Check the water pressure from the main supply.
- □ Test the water inlet valve solenoids with a multimeter.
Frequently Asked Questions (FAQs)
Q: Will the IE error resolve itself?
A: No. Unless it’s a temporary pressure drop, the error will persist until the underlying issue is fixed.
Q: Can a bad water pressure regulator cause the IE error?
A: Yes, if the pressure is too low, it will affect the washer’s ability to fill quickly.
Q: Is the IE error a sign the washer needs replacing?
A: Usually not. It’s almost always a minor plumbing or maintenance issue.
Q: What if I have hard water?
A: Hard water leads to mineral buildup, which clogs the inlet filters. This means you’ll need to clean them more often.
Q: Is it safe to unplug the washer?
A: Yes, for safety, always unplug the washer before performing any maintenance.
Conclusion
The LG washer IE error, while frustrating, is one of the most common and easiest appliance problems to solve. It’s a simple signal that your machine isn’t getting the water it needs. By following the systematic steps in this guide, from checking your water supply valves to cleaning the inlet filters, you can resolve the issue in most cases without needing to call a professional. Remember to always prioritize safety, turn off the water, and unplug the appliance before starting any repair work.
Disclaimer
This guide is provided for informational purposes only. Appliances can be dangerous. Always exercise caution and consult a qualified professional if you are unsure about any step. The author assumes no responsibility for any damage or injury that may occur from following these instructions. This is a user-created solution guide and not an official manufacturer’s manual.
Premium Tips from Niaz Khan, Expert
- The Vinegar Trick: If you have hard water, soak your inlet filters in white vinegar for an hour before scrubbing to dissolve mineral buildup.
- Double Check the Orientation: Some inlet valves are directional. Ensure the hoses are connected to the correct port to prevent backflow or low pressure.
- Proactive Maintenance: For the cost of a single service call, you can buy a spare water inlet valve and keep it on hand. This allows you to replace it immediately if the current one fails, saving you from waiting for a delivery.
- Check the Drain Hose: While it’s not directly a water inlet issue, a clogged drain hose can cause the washer to not fill properly, sometimes triggering an error. Ensure the drain hose is not too high above the machine.
Written By Niaz Khan